Prerequisites
To backup the save data of the original III, the first release, you have to image dump the entire disk.
For other III series, you can simply copy the files in the Diskette for backup.
Q: My floppy disk was no longer readable when inserted into the cabinet, so I tried copying the data files I had stored on my home computer to a new disk, but no luck. Can I restore the data from the corrupted disk?
A: Unfortunately, you cannot.
beatmanai III Q&A From the official website (mirror)
beatmania III has a data disk protection, so it will not be recognized as a data disk by your method.
The Q&A describes the procedure to perform when creating a backup disk.
However, the OS was limited to Windows 9x series (95, 98, me) or MS-DOS.
Copyable on Windows 95, Windows 98, Windows Me, MS-DOS
beatmaniaIII – From Kani Kani Club
Cannot be copied on Windows NT, Windows 2000, Windows XP, or Macintosh.
The reason why cabinet fails to read the data even after copying the entire disk is that the OS adds extra information to the file information on its own when copying, and the game console identifies it as modified data.
However, the procedure this time shows that it it possible to perform a backup even on recent operating systems.
Working Environment
- Floppy containing data of Original III
- FDD (USB connection)
- TEAC FD-05PUB
- Windows10 1803
- RawWrite for Windows
Advance preparation
- Download RawWrite for Windows. I used rawwritewin-0.7.zip.
- Unzip the file to any folder.
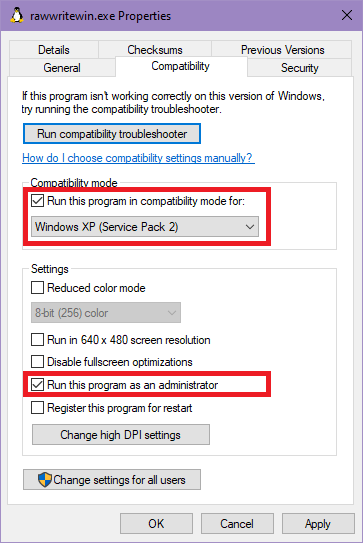
- Open the properties of rawwritewin.exe and set the compatibility settings.
- Check “Run this program in compatibility mode for:”
Select “Windows XP SP2” - Check “Run this program as an administrator”
- Check “Run this program in compatibility mode for:”
I have not properly tested the compatibility settings. Administrative privileges may not be necessary, but I have it checked just in case.
Notes
- If the FDD is not connected, the program will not run.
- If other programs, such as Explorer, are accessing the file, it cannot be read or written. (Exclusion control)
- Wait a bit until other accesses are finished and the FDD is quiet.
- If you get an error even though there seems to be no access, you may have to reconnect the FDD USB and wait until the FDD is quiet again before you can work on it.
Backup from original diskette
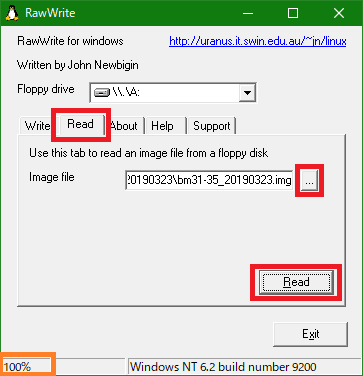
- Make sure that the FDD is connected and run rawwritewin.exe.
- Select the Read tab and specify the location where you want to save the file.
- Click Read to get a disk dump.
You won’t get a dialog box telling you it’s done, but if it’s at 100%, it’s done.
Restore to new diskette
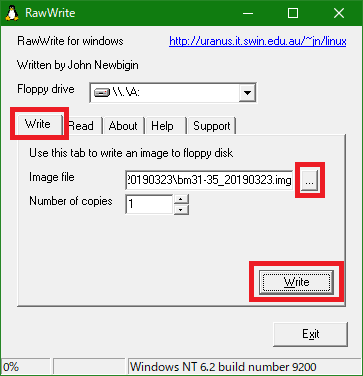
- Make sure that the FDD is connected and run rawwritewin.exe.
- Select the Write tab and choose an image to write.
- Make sure that the destination diskette is in the FDD and click the Write button.
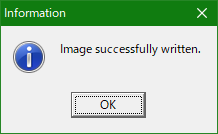
- When completed, the message “Image successfully written.” appears.
Please prepare a diskette with the same disk structure as the original. It seems that you cannot write to a diskette whose sectors do not match.
In Conclusion
I was able to successfully copy the file in Windows 10.
I’m not sure if this method is effective for all operating systems, since Windows 9x series, NT series such as 2000 and XP, and Vista and later may have different ways of handling the file system.
But now I can create copy disks without having to use my old machine.
What’s more, the existing method requires you to prepare a copy diskette each time, but this method allows you to store an unlimited number of files in your machine!
And you can even copy that image file and give it to others!
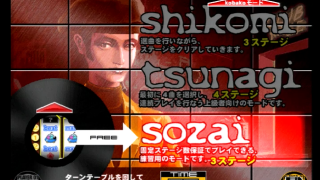
I have a save file on my blog with the sozai mode unlocked.
コメント