
The new house is complete
The new house was completed in February 2020.

I installed a TV wall mount, prepared to move into the house, and so on.
When the house was turned over to us, the contractors taught me about how to remove the windows, then did a final check of the route along which to bring in the machine.
During this time there was nothing but suspense about whether we could really bring it in.
Move-out day
About 10 people in all gathered to do the absurd, ranging from reputable friends during my college years to Top Rankers who had experience with moving machines in while running tournaments.
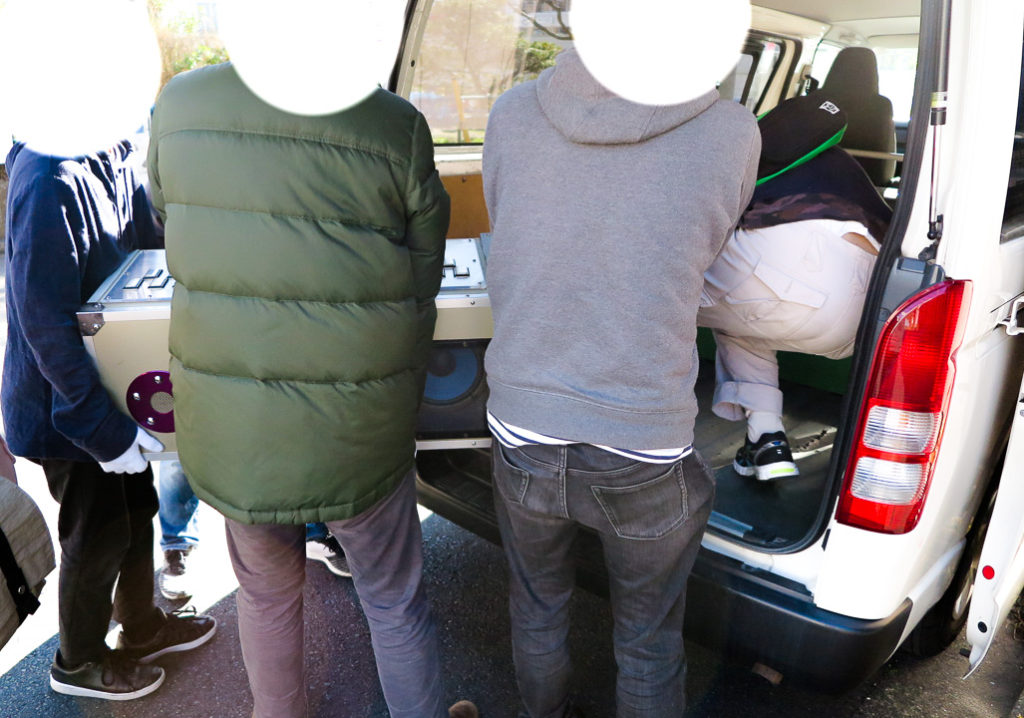
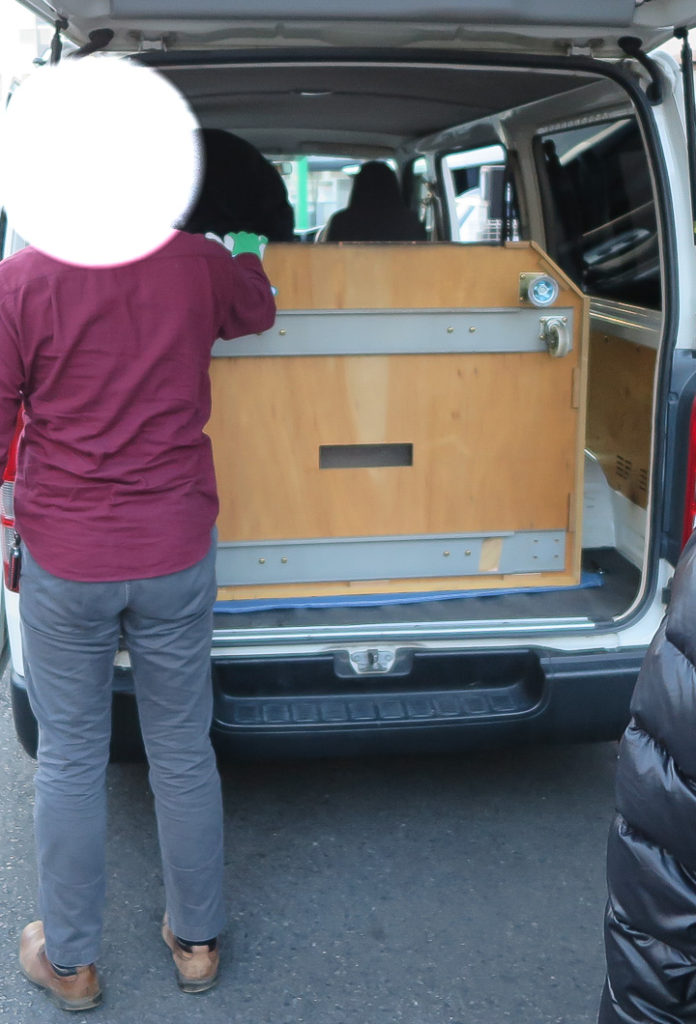
And for transportation, I rented a HiAce.
Normally when transporting a machine, you use something like a truck with a liftgate, but given that everything had been taken apart, I determined that this time it would be sufficient to take two round trips with the HiAce and transport the smaller parts in an automobile.
The move-out process
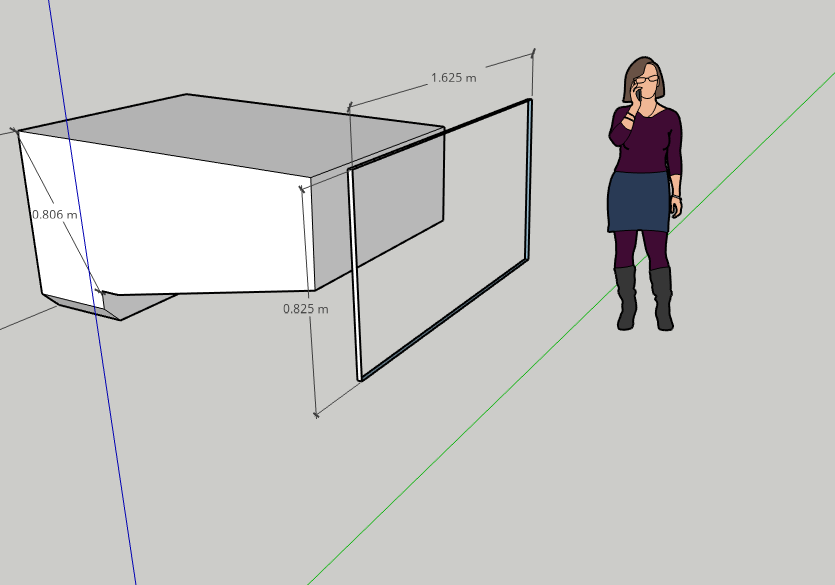
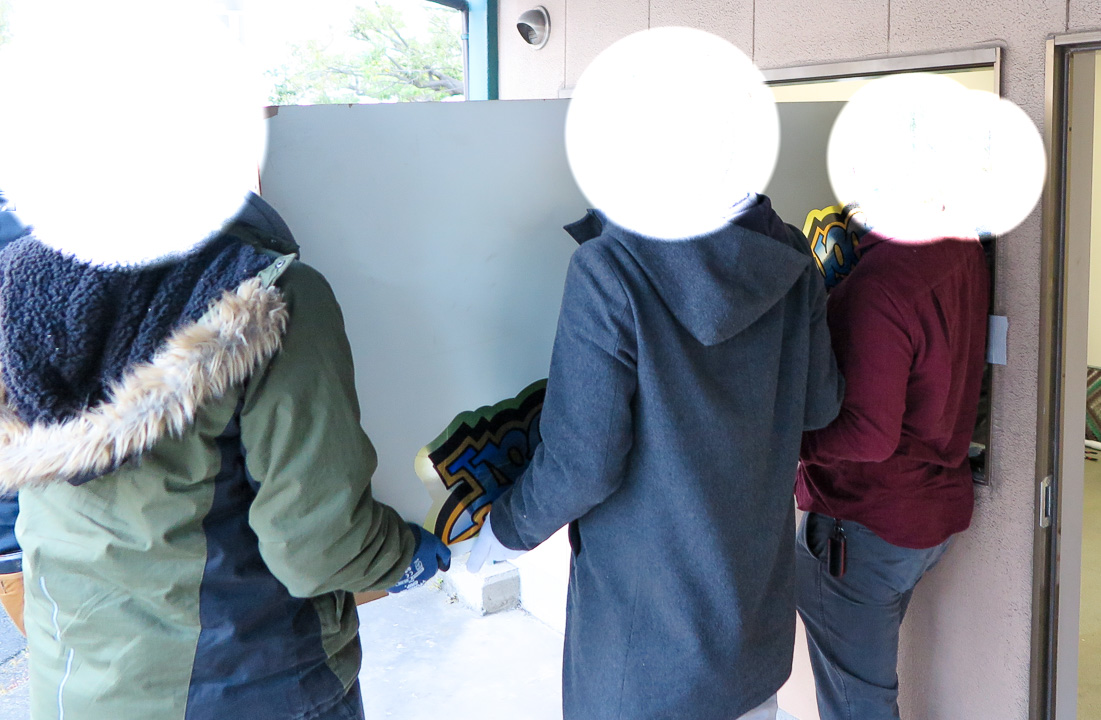
As I wrote in the previous entry, the door of where we were moving the machine out of did not have enough clearance for the machine to pass through, so we had choice but to send it out through the window.
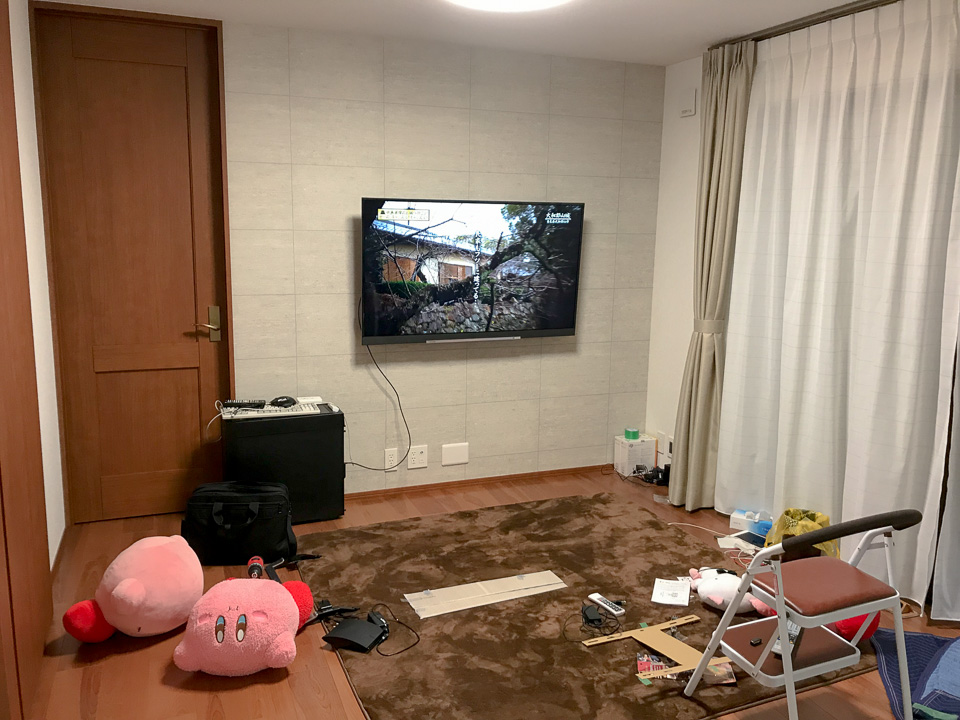
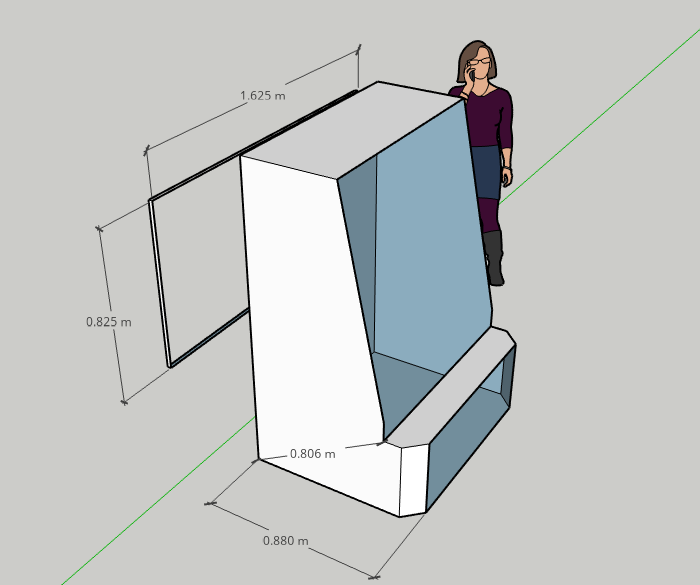
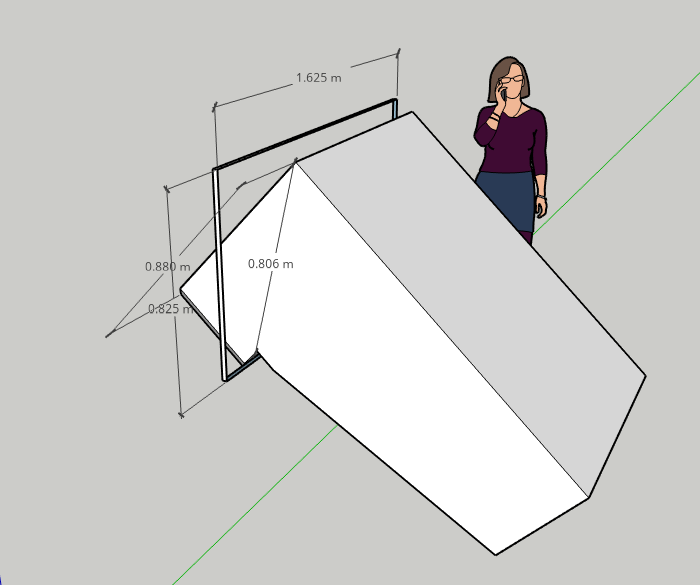
While asking the original owner in advance about the circumstances of when it was moved in, I drew diagrams in CAD to explain the work to do on-site.

Alright, we can do this! Right? (Foreshadowing)
Heave-ho!
As soon as people gathered, we lifted up the machine right away.
Even though it was just the outer frame of the machine, it was made of wood, and so it was heavy enough to require at least three people to lift it up stably.
As we lifted it up and approached the window…

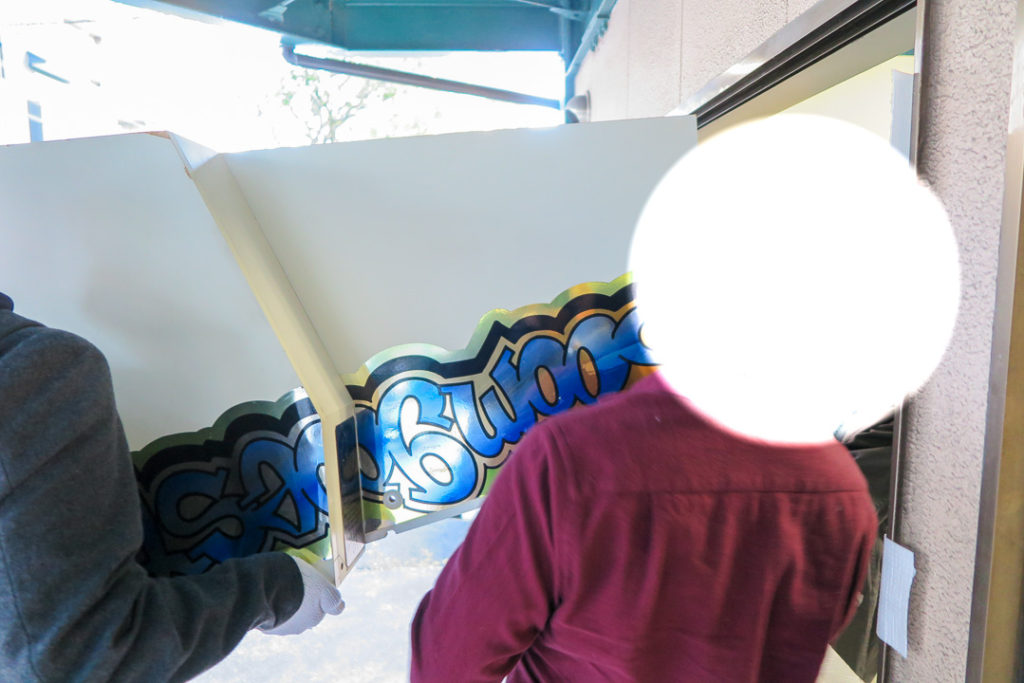
Alright, heave-ho!
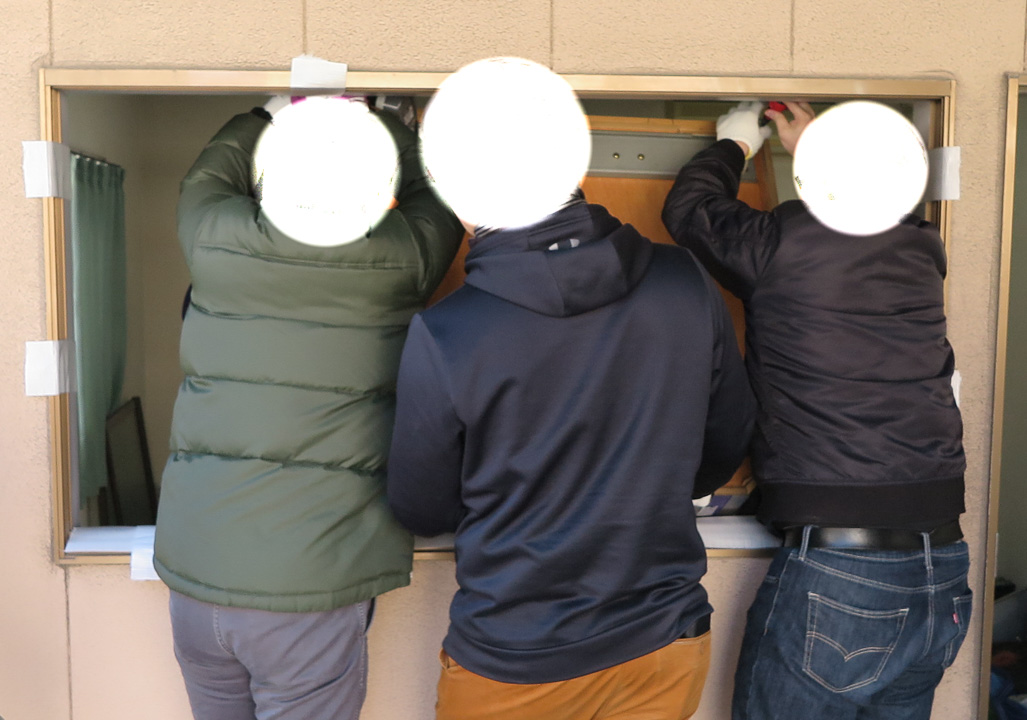
Just as explained earlier, when the controller panel side passes through the window, take the back of it and… huh?

It just wouldn’t pass through the window.
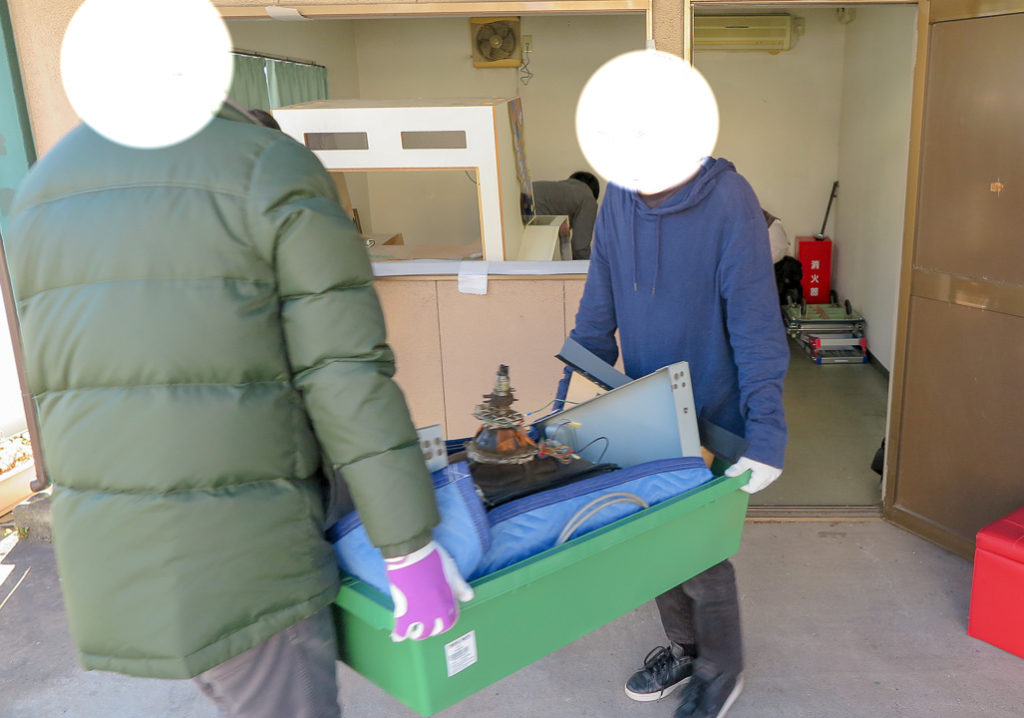
For the time being, the teams were split up into people who carry out the CRT monitor, speakers, controller panel, and other smaller items, and people who investigate the cause of it not being able to pass through the window.
Investigating the cause and coming up with a counterplan
I interrogated kindly asked the original owner:
Didn’t you say before that’s how the machine got in there?
Other machines were brought in back then, so that’s mainly how we did it when working…
All I heard from a friend who worked there is that this is how they forced it in there.
And then there was this shocking fact from one of my junior colleagues at university:
There’s some marks like it’s been put back together with adhesive or something.
I think maybe they forcibly took apart things that weren’t supposed to be taken apart and then put them back together afterward.
So I think it’ll pass through the window if you tear off the plywood back here, since it seems like they removed it when they brought the machine in.
… Use your judgment.
Seriously?
Oh well, if that’s how they brought it in back then, then there’s no choice but to do it again this time.
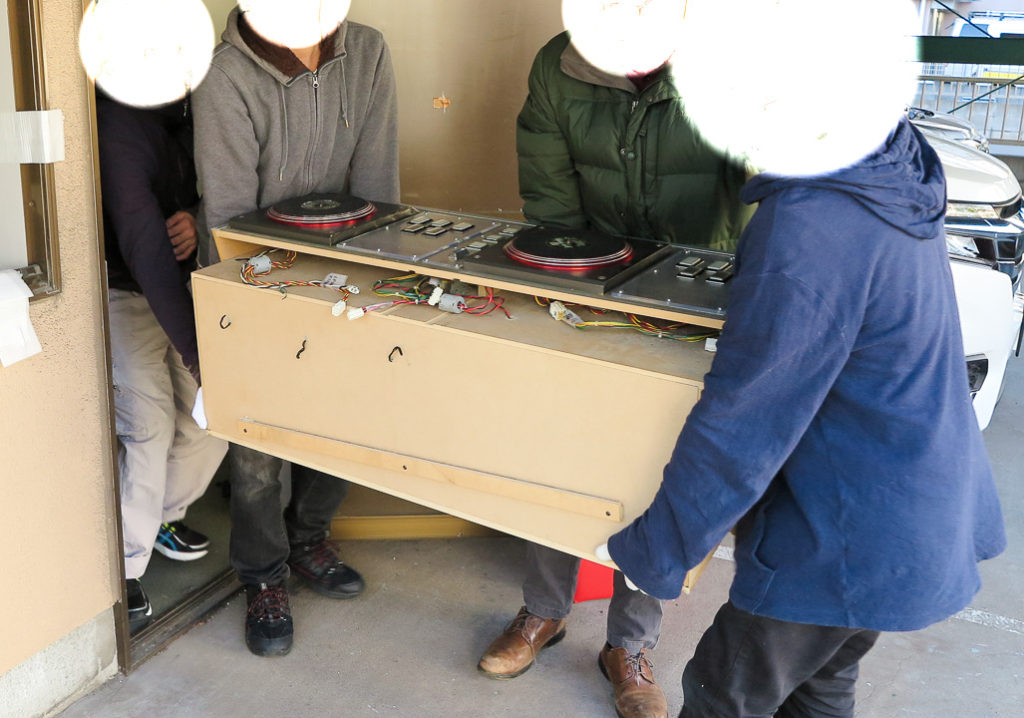
And so we took it apart with some solvent remover, a hammer, and a crowbar, then tried again.
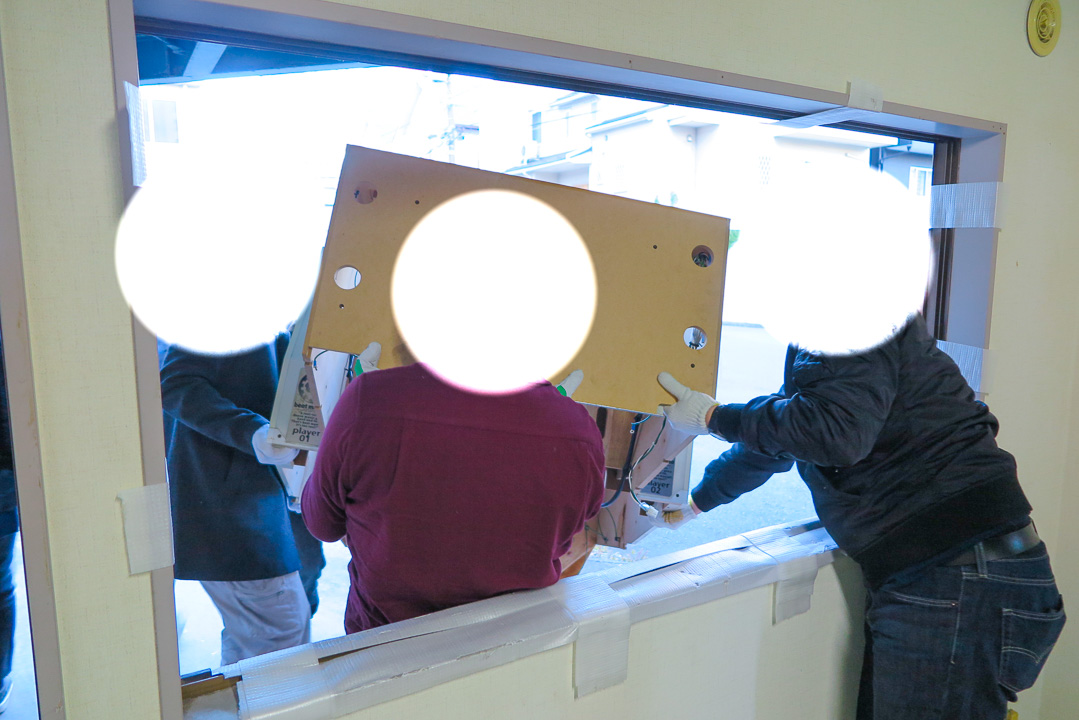
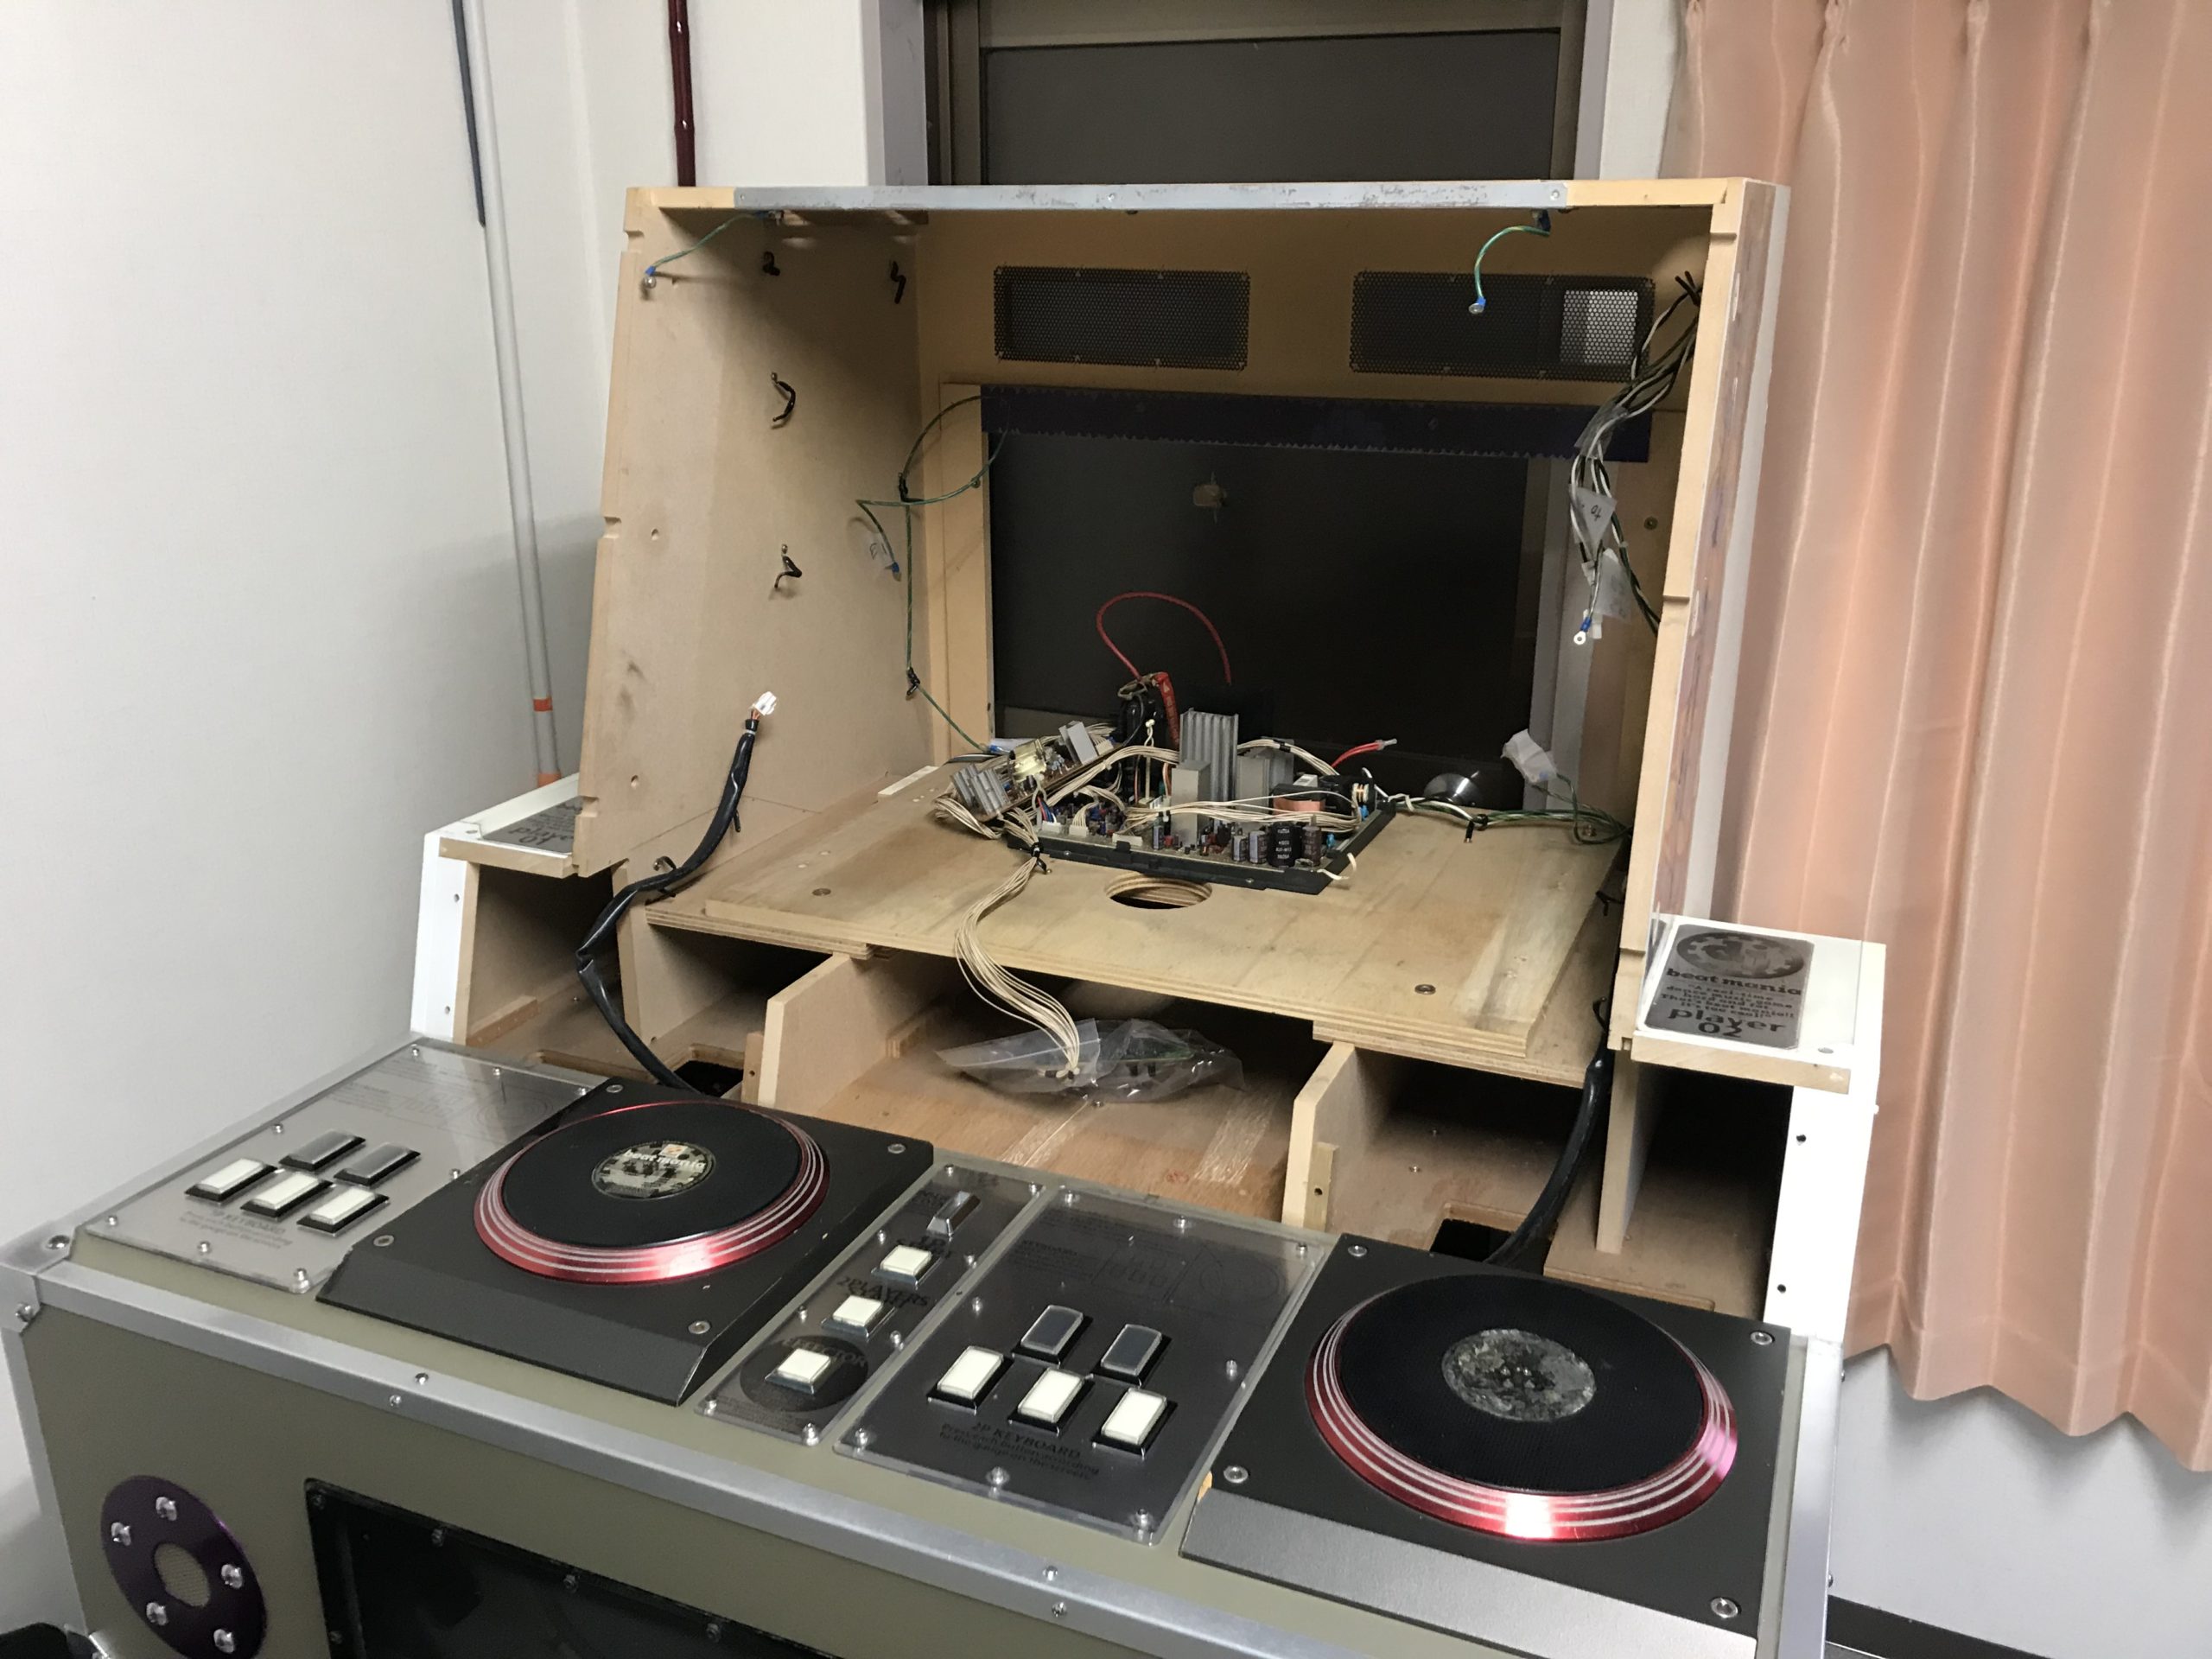
Here’s the rather unbecoming state of the machine when its front panel is taken off:
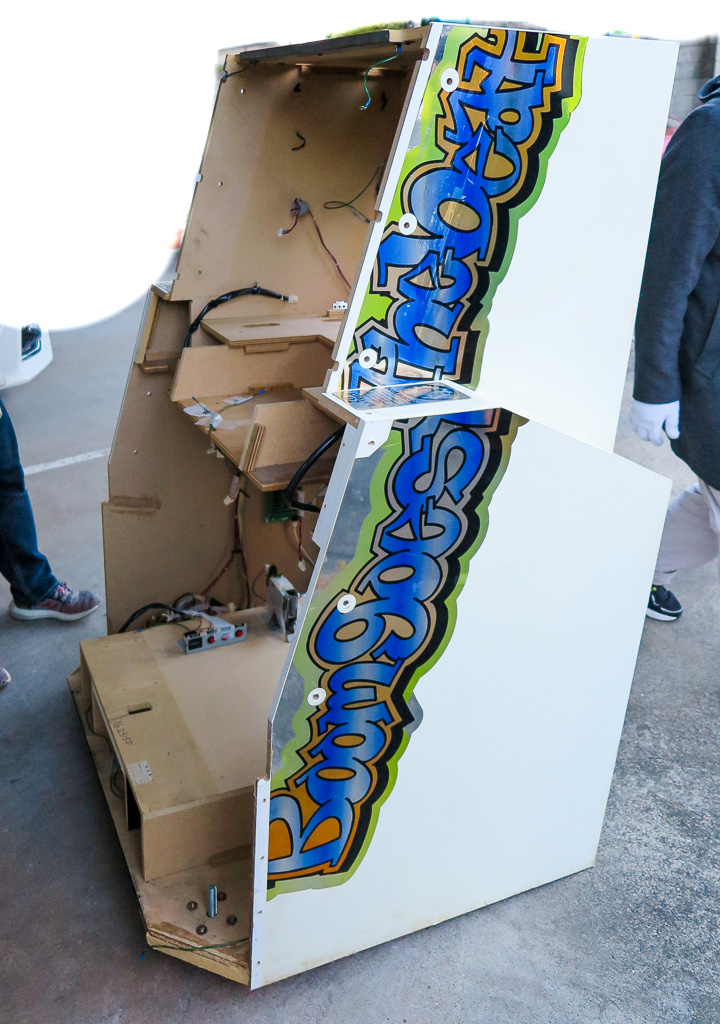
It fit safely in the HiAce.

Move-in
At this time the sun had gone down, so I don’t have any photos of the move-in!
Just as initially planned, we brought it in from the courtyard after removing the window.
However, since we were running quite a lot later than scheduled, and since we had taken apart things that weren’t meant to be taken apart, we didn’t get all the way to assembling it on that day.
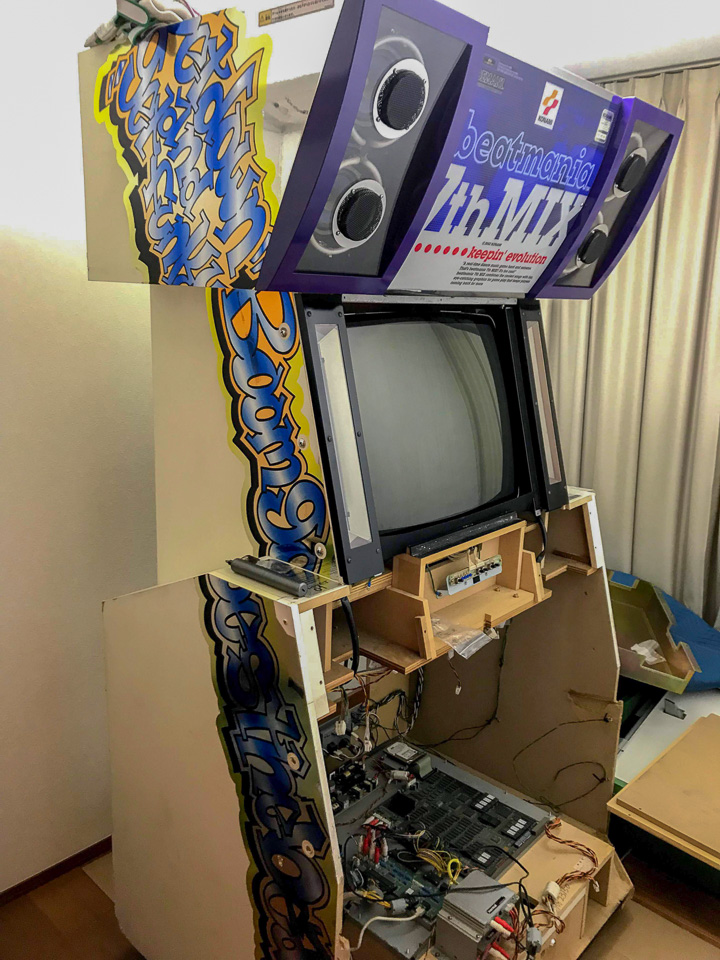
I asked them to help me out since one person can’t move the heavy things on their own. Here’s how it ended up looking on that day after just installing the upper speakers and CRT monitor.
Later
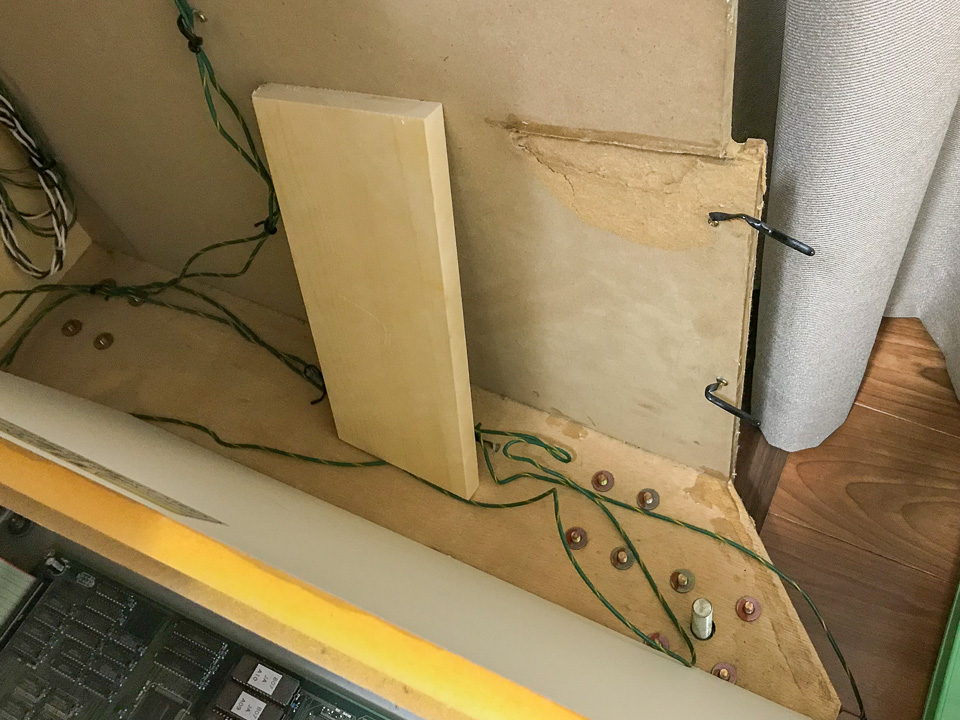
I continued to draw diagrams and do handiwork, like repairing the disassembled parts and damaged sections, on my own.

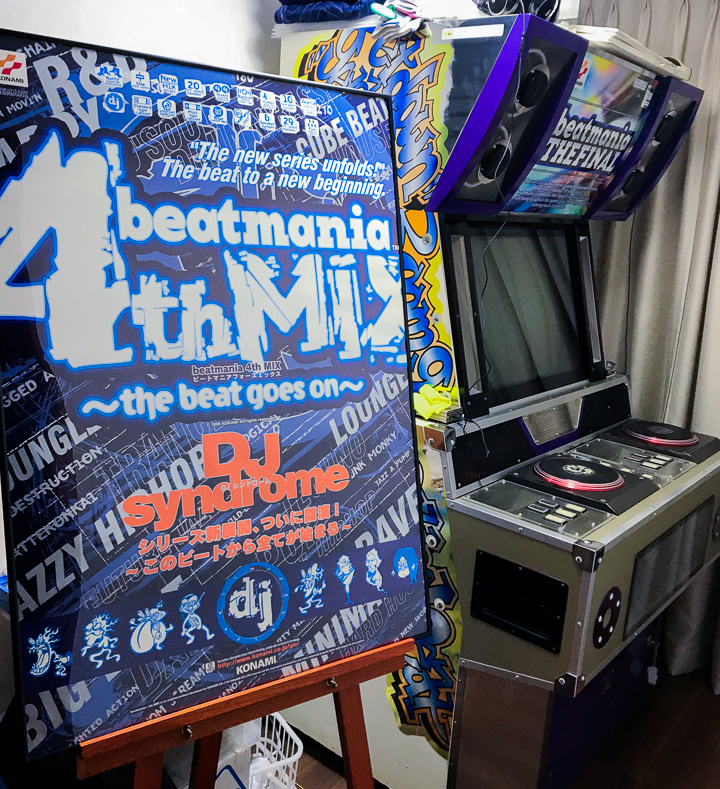
I steadily repaired the machine while wondering how it should be fixed (even though there were a lot of days where I couldn’t be bothered to touch it), and somehow finished it!
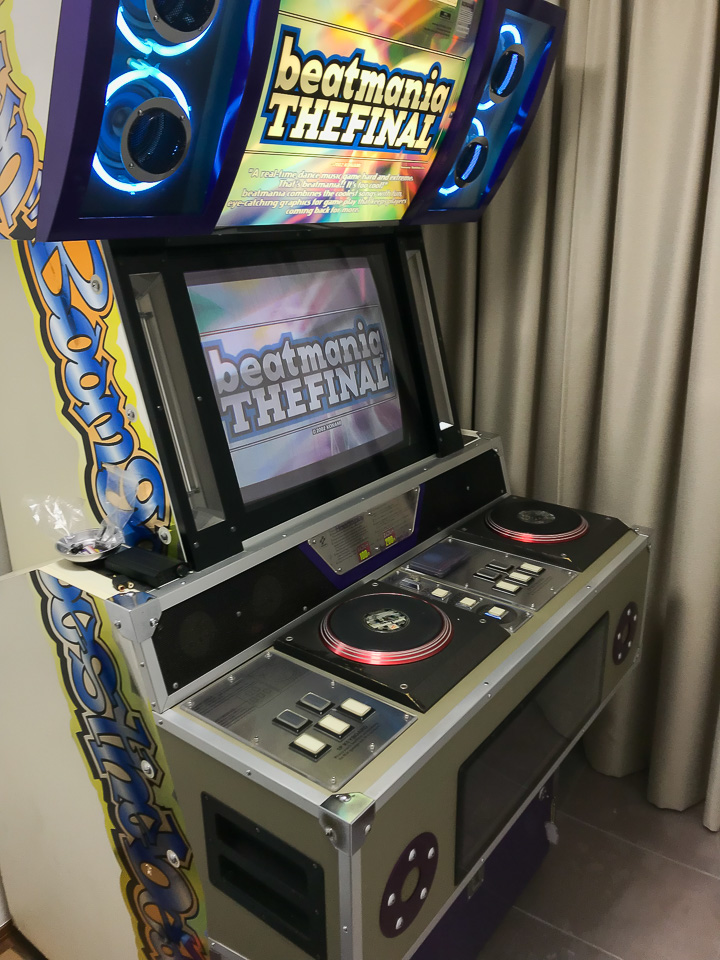
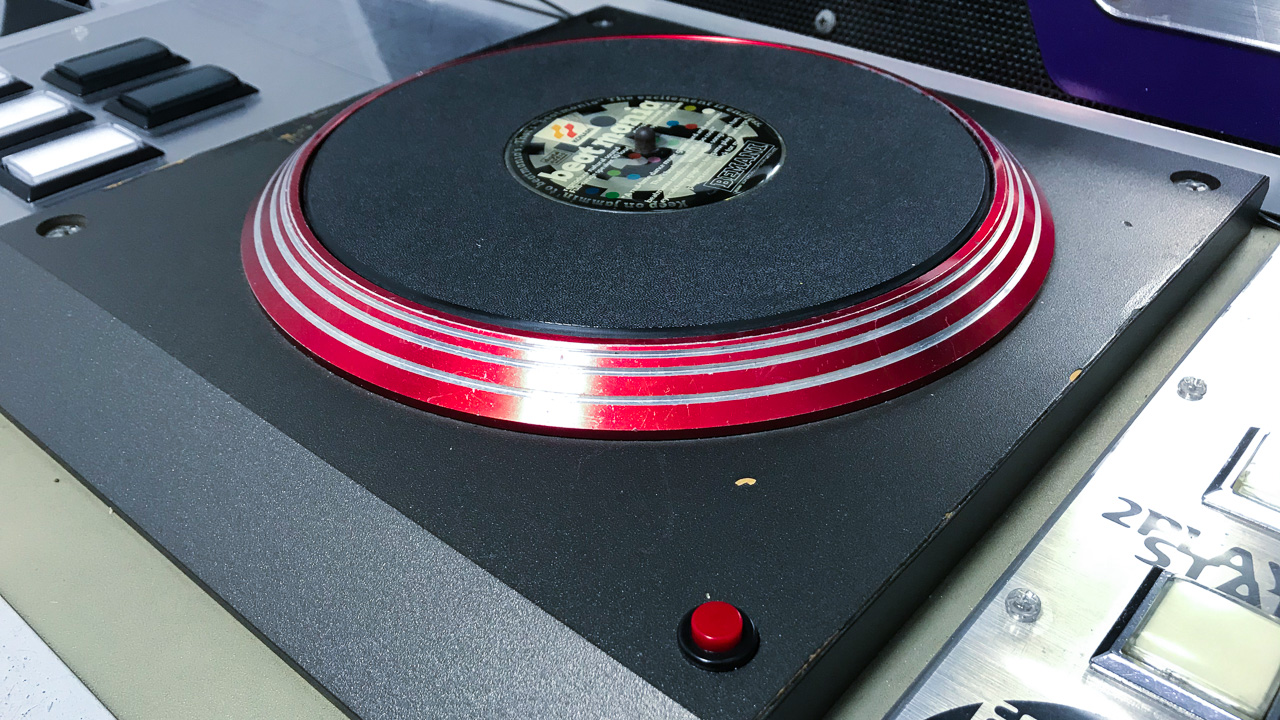
After it was complete, I played on it normally and also hooked up a headphone amp to it, split the video feed for streaming purposes, did freeform research of game mechanics, analyzed the serial communication PCB for handling scratches, etc. etc. I’ll write about all of that in another entry…
コメント